PPP Cameras Fujifilm cover - custom preset
Setup to be used in combination with PPP Cameras - Fujifilm X100VI Cover
Camera settings
1 - AF MODE
to change the AF mode
click ‘Menu’
go down to ‘AF/MF’
select ‘AF MODE’
change to ‘SINGLE POINT’
2 - Change AF Type
to change AF type you can do this by changing the physical switch on the left hand side of the camera and switching it to ‘S’
or in the menu
click ‘MENU’
Select ‘AF/MF’
select ‘AF MODE ALL SETTING’
select ‘AF-S’
3 - Turn Touch Screen AF off
to turn touch screen off
click ‘MENU’
Select ‘AF/MF’
select ‘TOUCH SCREEN MODE’
select ‘OFF’
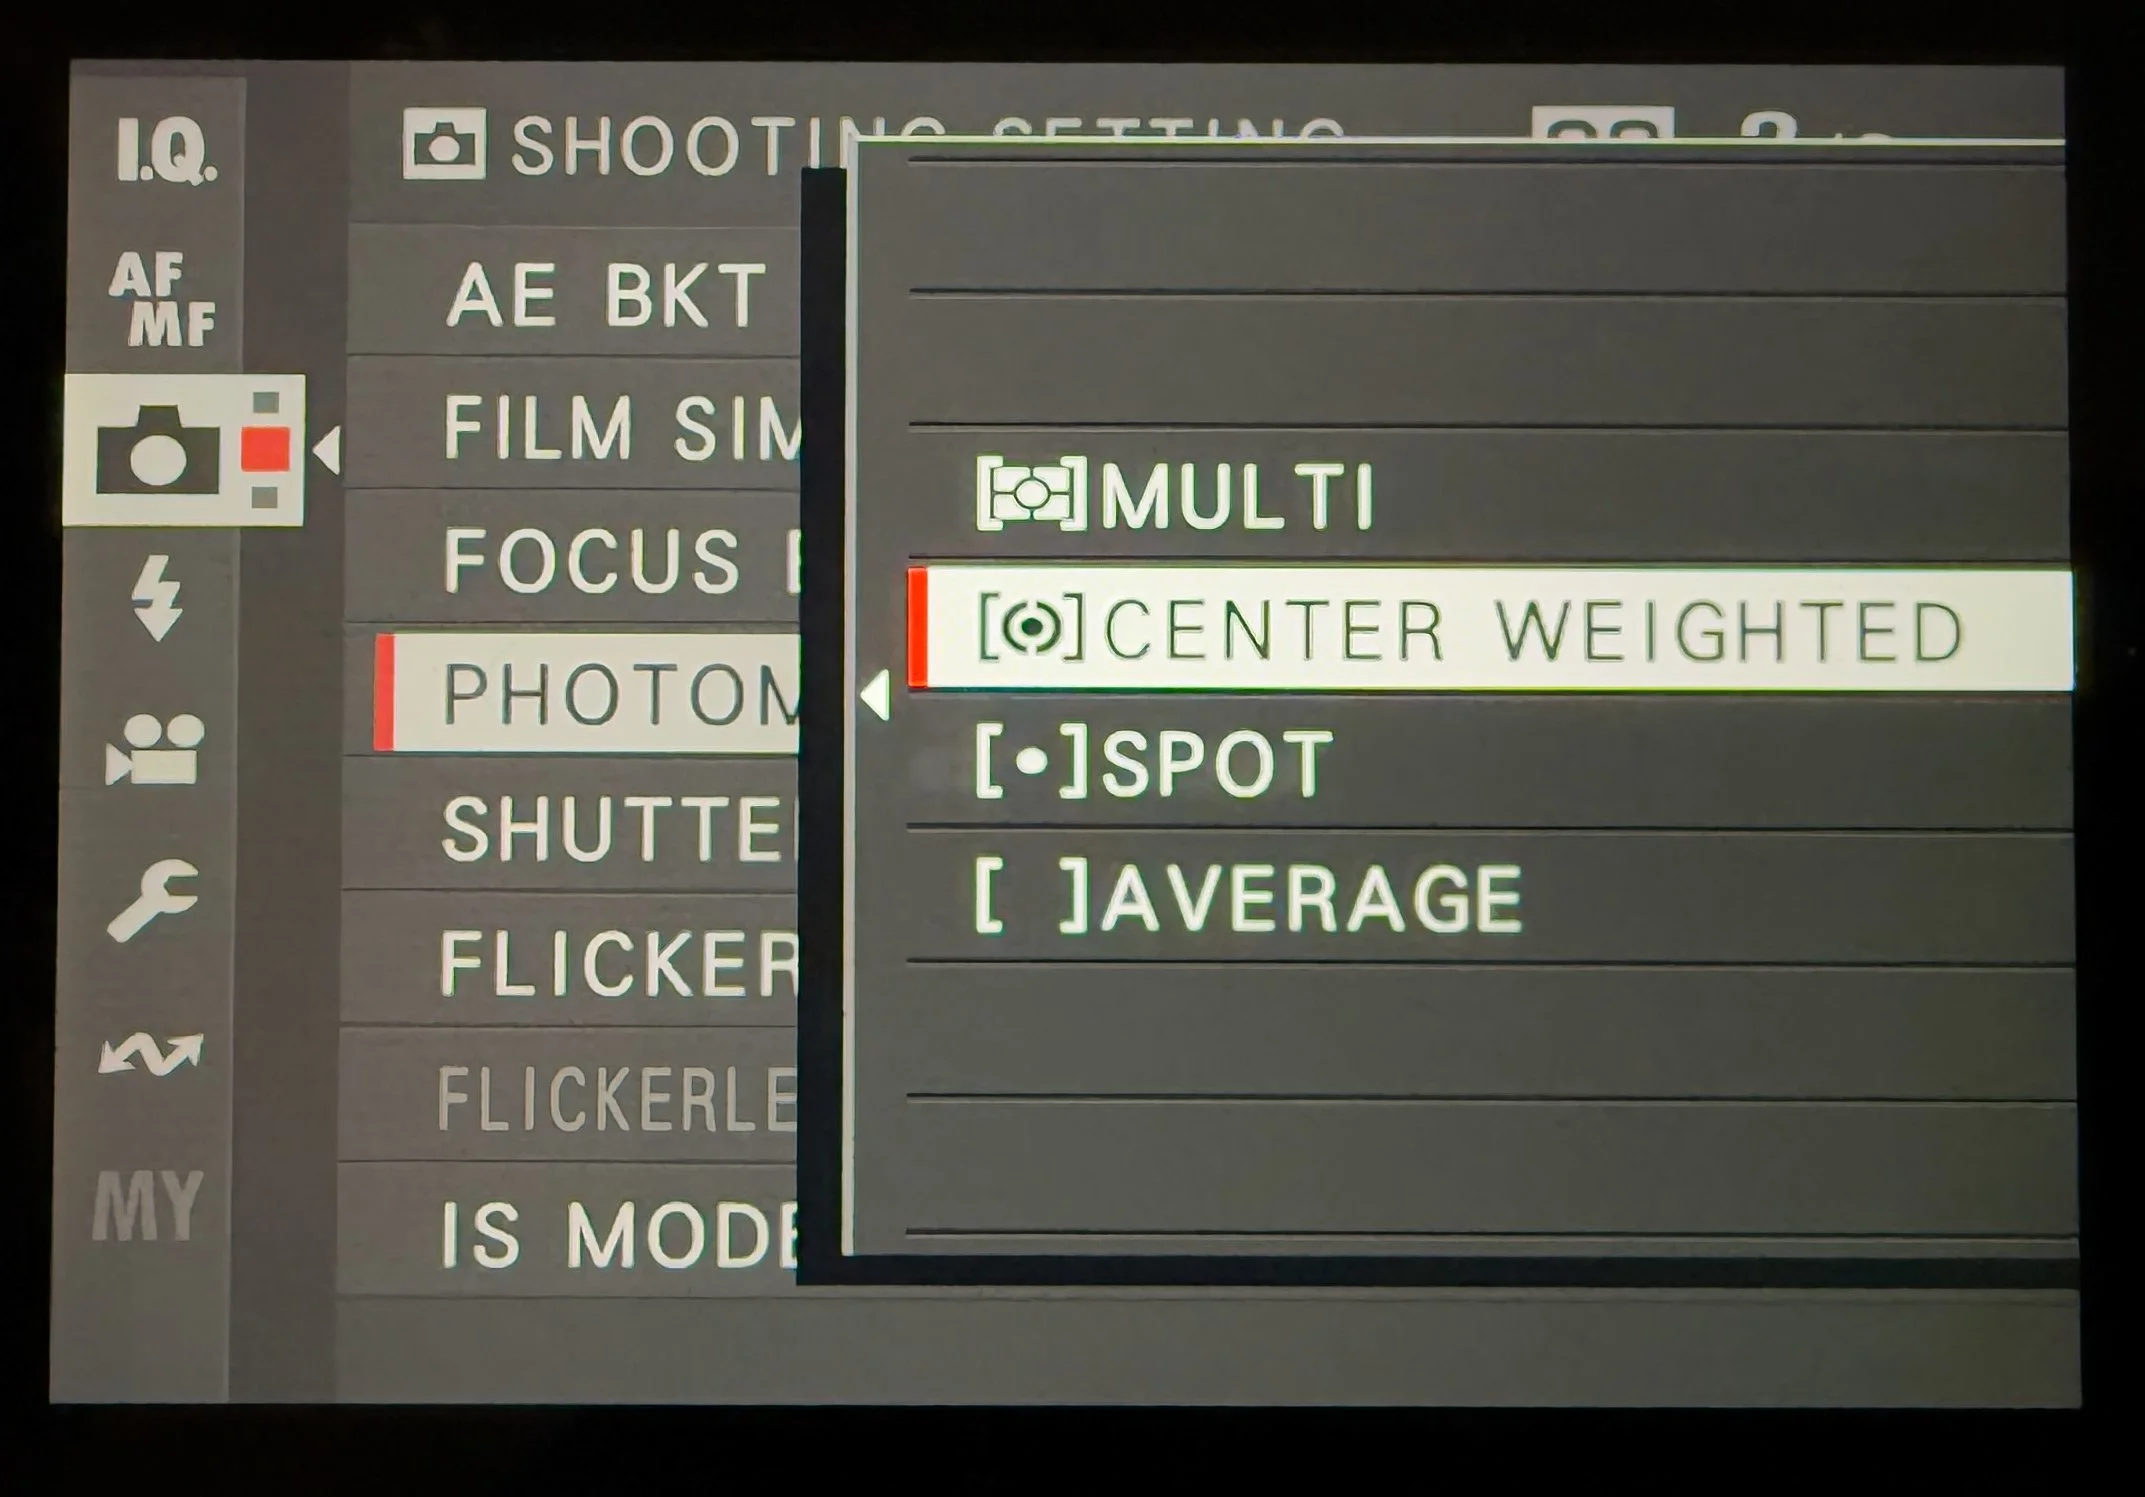
4 - Change metering to Center wighted
to change metering to centre weighted to mimic that of 90s film cameras
click ‘MENU’
Select ‘SHOOTING SETTING’ (camera icon) 2/3
select ‘PHOTOMETRY’
select ‘CENTER WEIGHTED’
5 - Turn off image playback/preview
to turn off image playback after taking a shot
click ‘MENU’
Select ‘SCREEN SETTINGS’ (spanner icon) 2/4
select ‘IMAGE DISP.’
select ‘OFF’
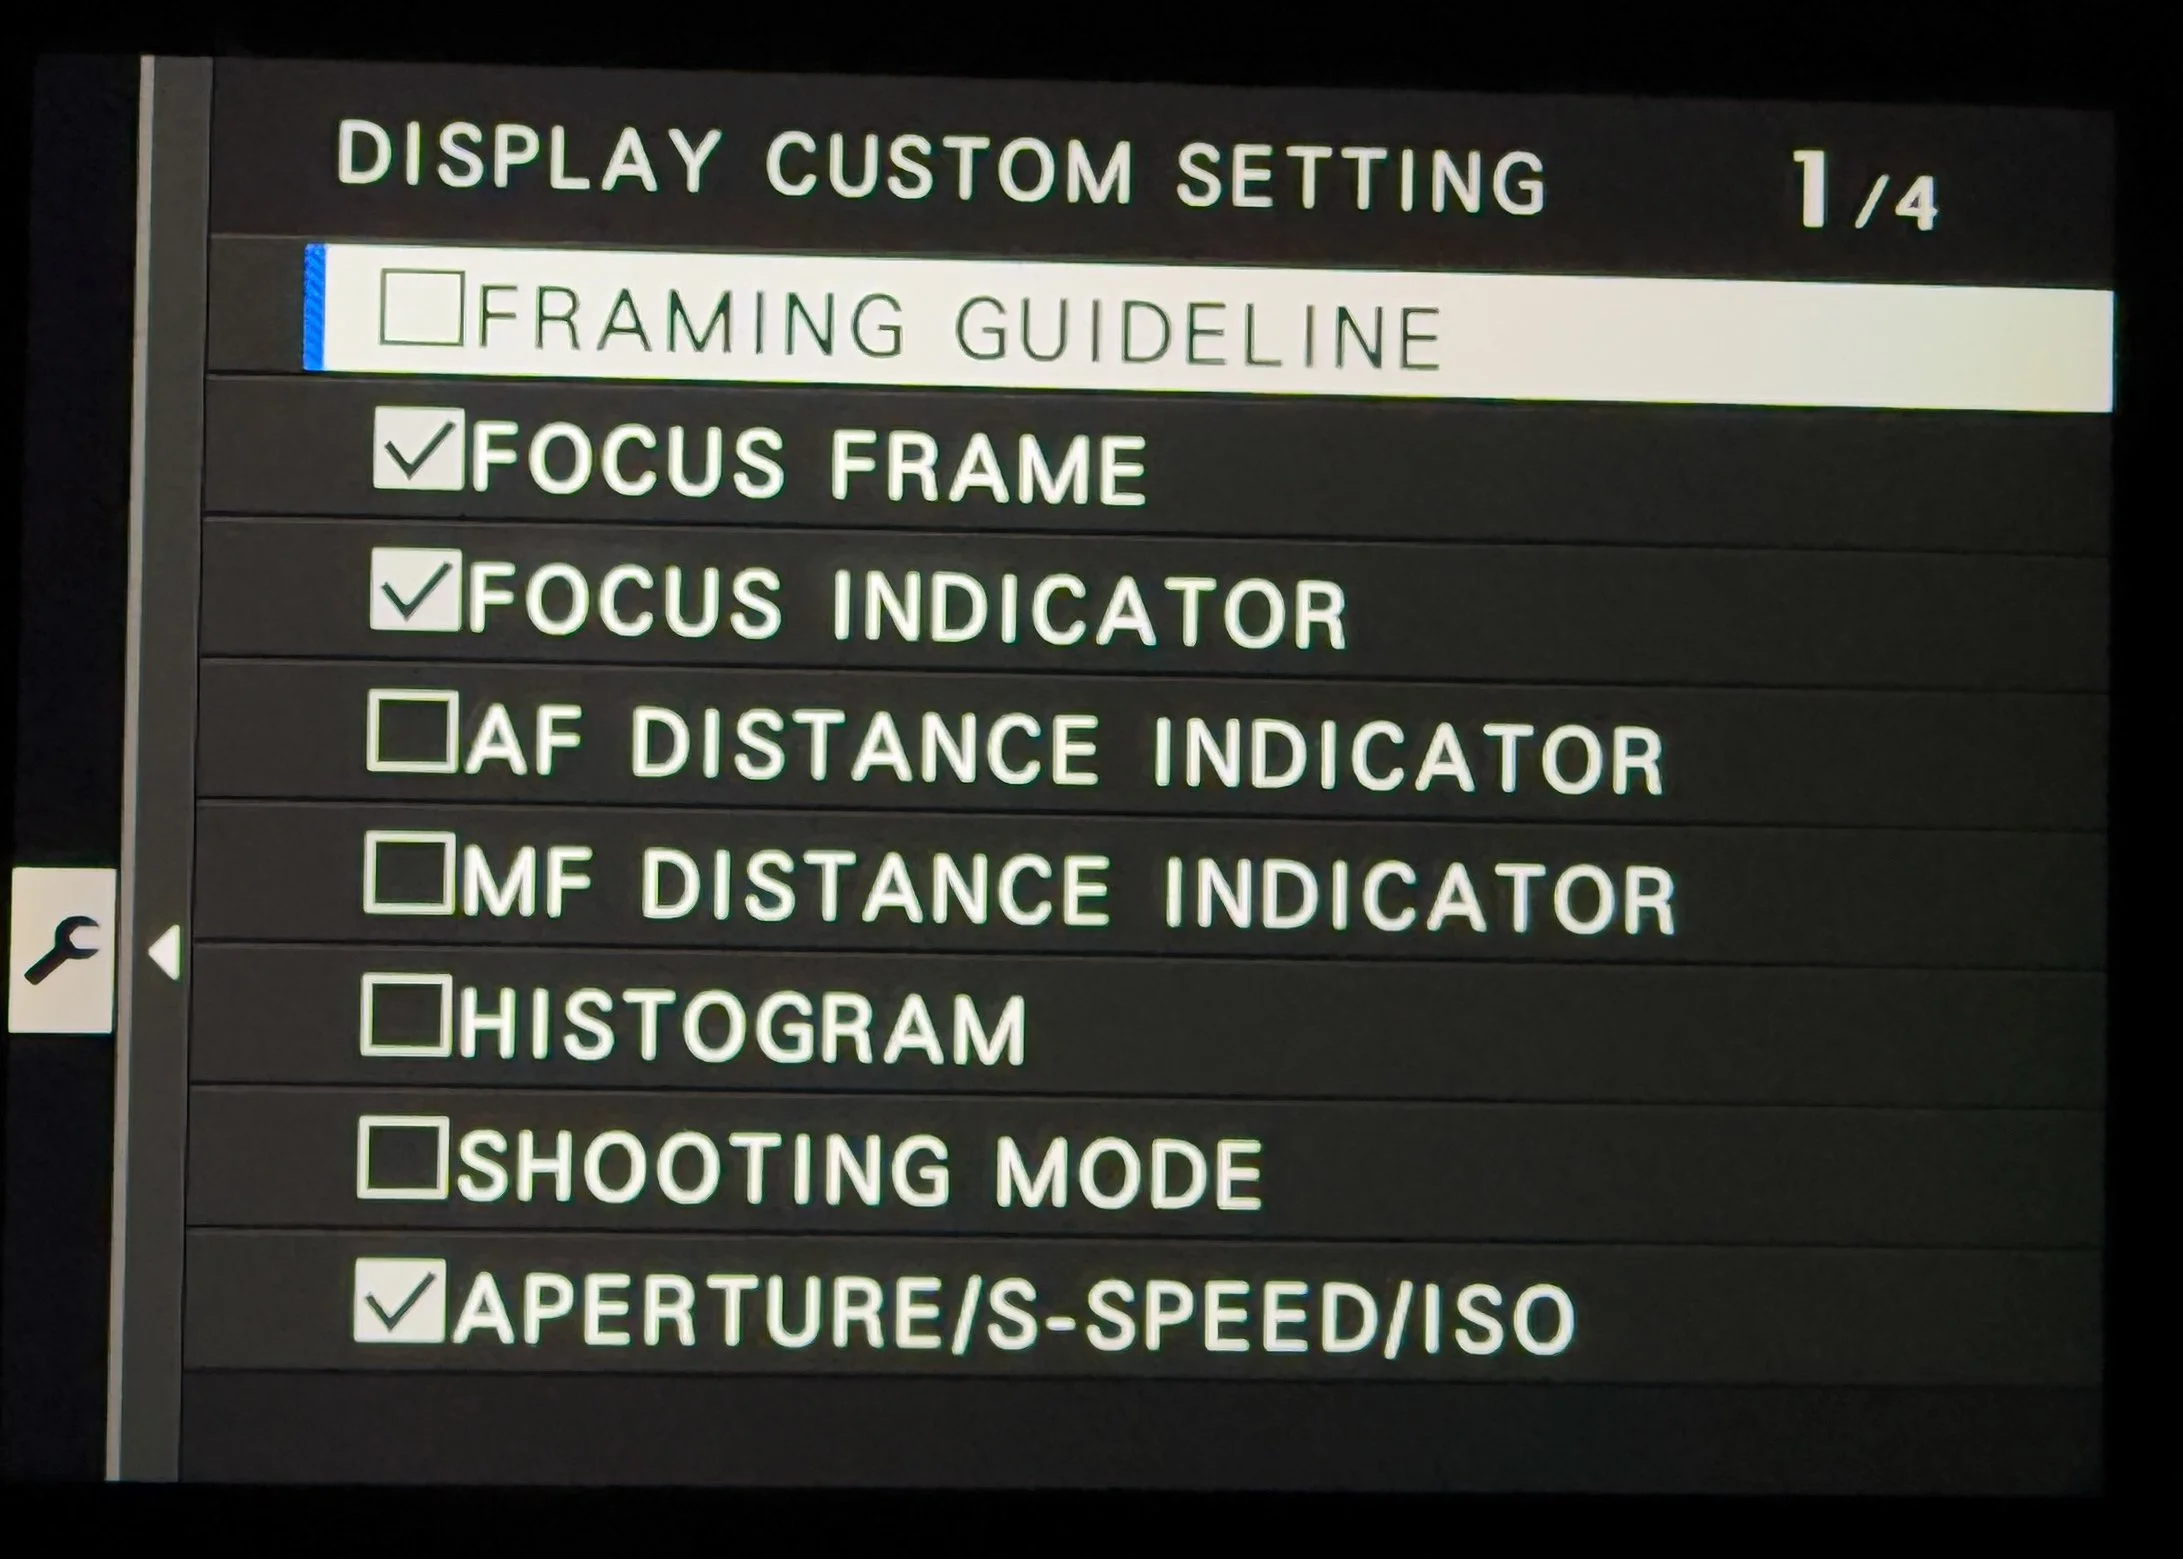
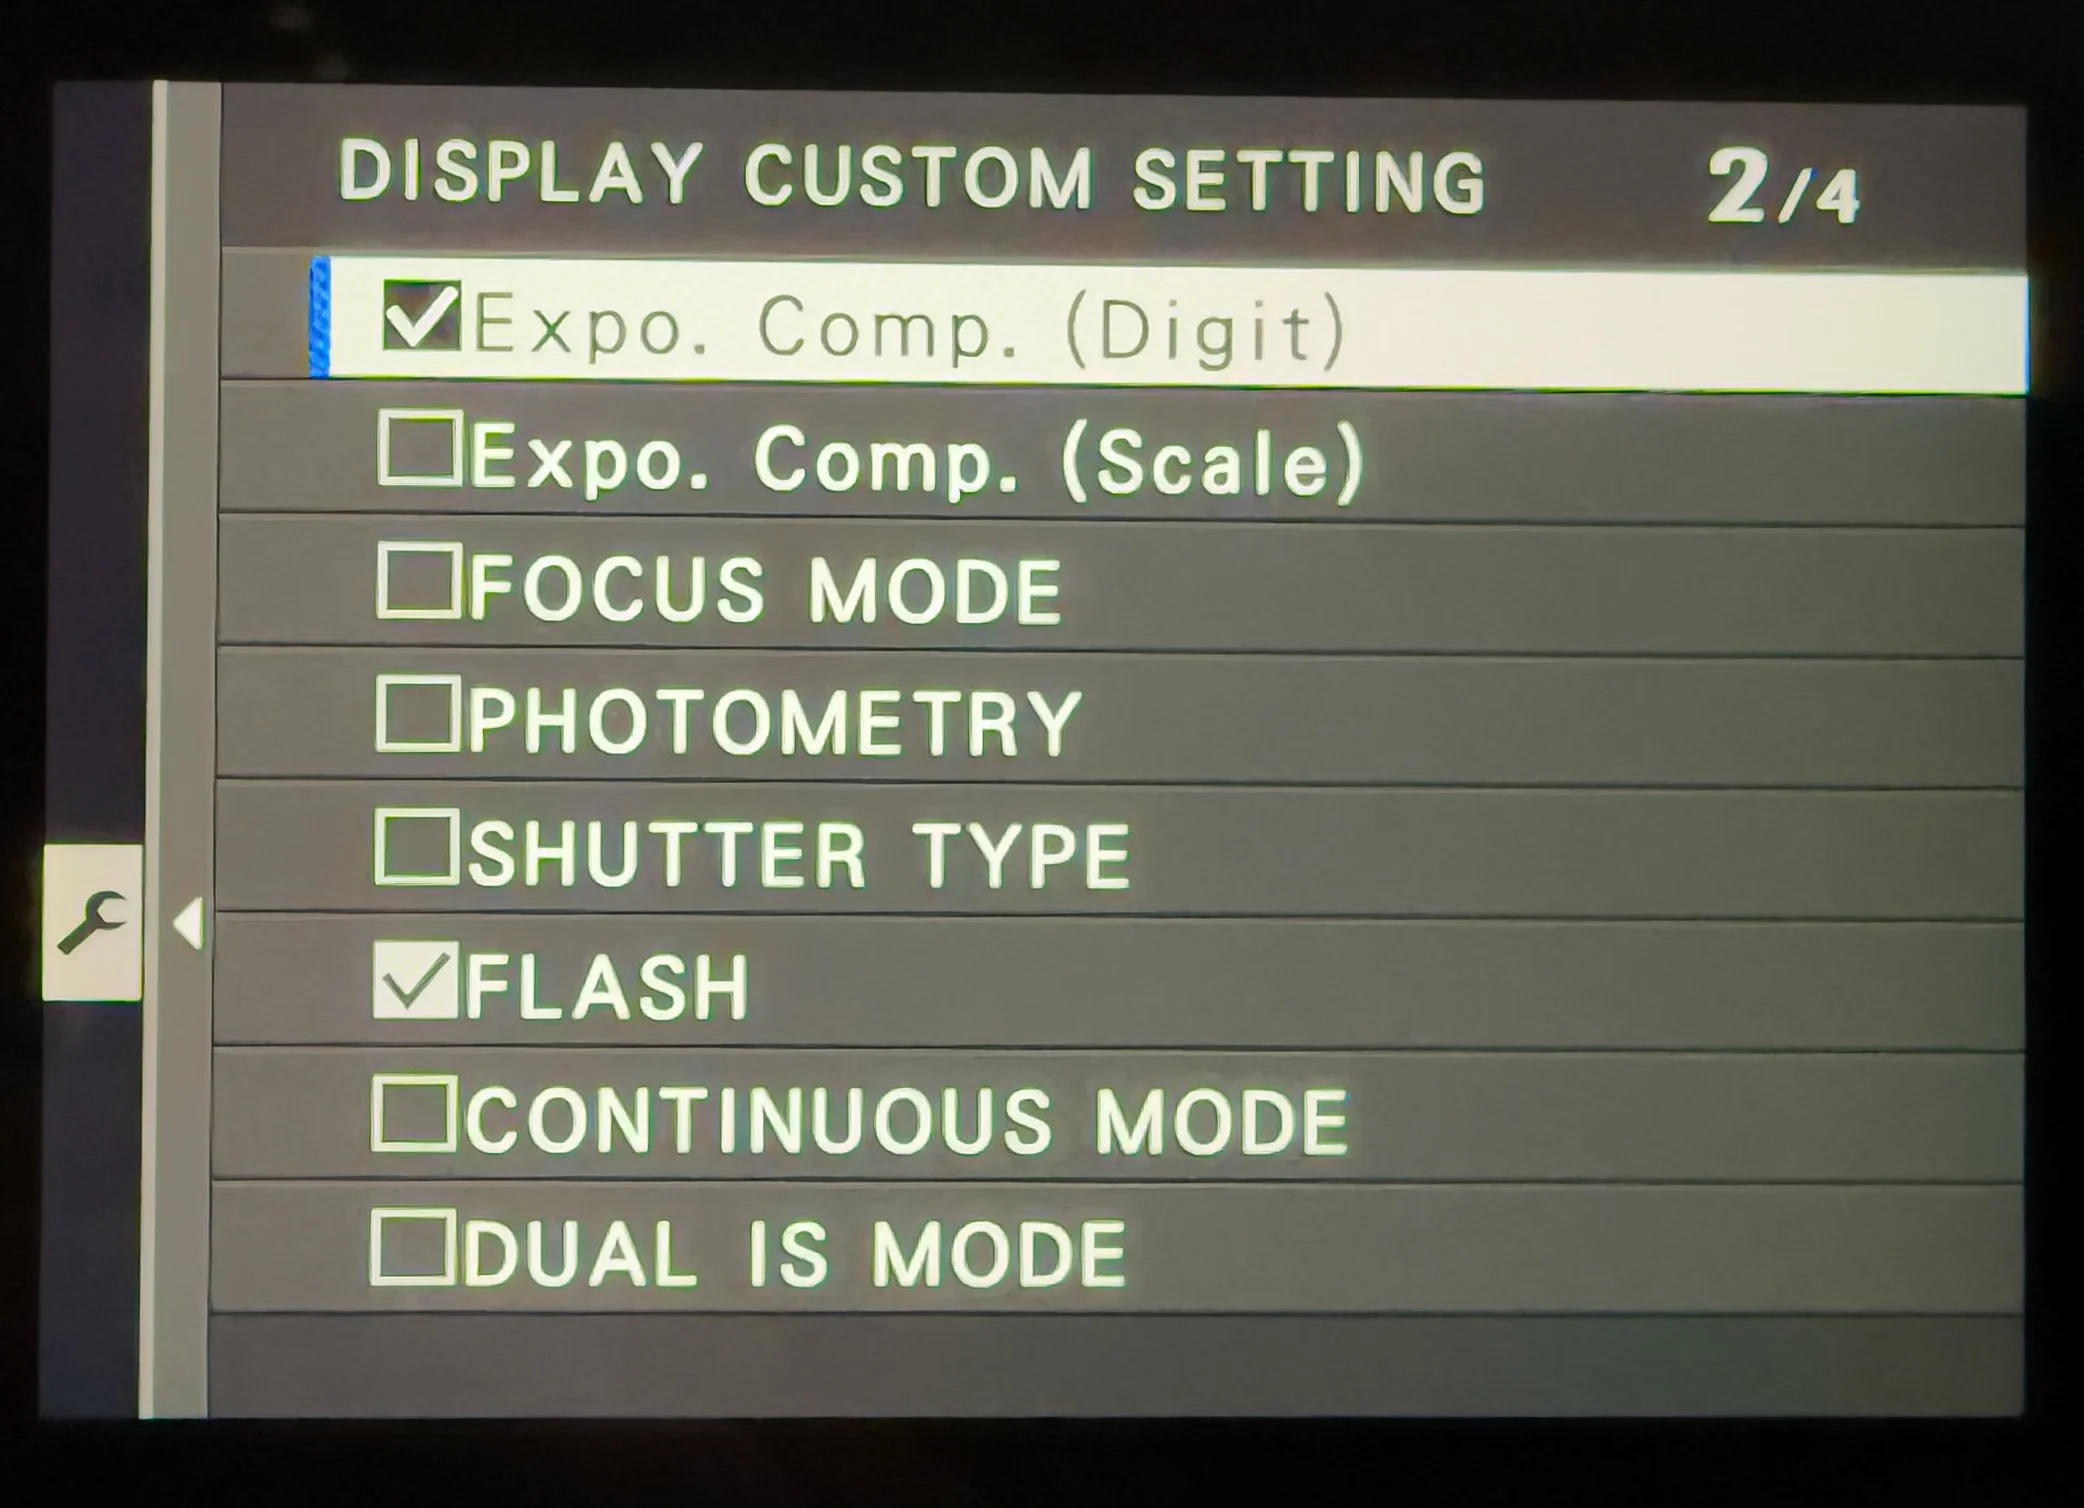
6 - Customising the OVF ( optical viewfinder)
to customise the OVF to mimic that of what you would find in a 90s analogue film camera
click ‘MENU’
Select ‘SCREEN SETTINGS’ (spanner icon) 2/4
select ‘DISP. CUSTOM SETTING’
select ‘OVF’
Make sure the following boxes are ticked and the rest are left unticked
‘FOCUS FRAME’
‘FOCUS INDICATOR’
‘APERTURE/S-SPEED/ISO’
‘Expo. Comp.(Digit)’
‘FLASH’
‘FILM SIMULATION’
‘FRAMES REMAING’
‘DIGITAL TELE-CONV.’
‘NO STORAGE MEDIA WARNING’
‘BATTERY LEVEL’
7 - Locking joystick
to lock the joy stick to avoid accidentally moving the single focus point
click ‘MENU’
Select ‘BUTTON/DIAL SETTING’ (spanner icon) 3/3
select ‘LOCK’
select ‘LOCK SETTING’
Select ‘SELECTED FUNCTION’
select ‘FUNCTION SELECTION’
make sure that the only box that is ticked is ‘FOCUS STICK’
7 - To save the settings
to save the settings you have just logged onto the camera
click ‘MENU’
Select ‘I.Q.’ (IMAGE QUALITY SETTING 3/3
select ‘EDIT/SAVE CUSTOM SETTING’
select a ‘C1-7’ choose a custom profile of your choice any will do
Select ‘SAVE THE CHANGES’
Film emulation
My personal favourite but you can choose any you like - Portra 400
for a wide selection of film simulations check out : Fujfilm weekly
how to add film simulation
1 - To save the settings
to save the settings you have just logged onto the camera
click ‘MENU’
Select ‘I.Q.’ (IMAGE QUALITY SETTING) 3/3
select ‘EDIT/SAVE CUSTOM SETTING’
select the custom profile you have just saved the above settings too
Select ‘EDIT/CHECK’
Now your ready to input your film simulation settings
to save the settings once you have finished
Select' back button’
Select ‘SAVE THE CHANGES’
Portra 400 film recipe/simulaiton
Film simulation : Classic Chrome
Grain effect : Weak - Large
Colour Chrome Effect : Strong
Colour Chrome FX Blue : Weak
WB : Auto WB (Red 2 Blue -4)
Dynamic Range : DR Auto
Tone Curve : Highlights -1 Shadows -1
Color : +2
Highlight ISO NR : -4
Clarity : 0
Sharpening : -2


